Whether you're a homeowner looking to bring a touch of classic Americana into your space or a professional contractor aiming to meet your clients' requested aesthetic, we've got you covered with products actually made in the USA. Here are 8 iconic American
looks that you can achieve with the best water-based stains, sealers, and finishes from the Basic Coatings® line.
1. Farmhouse Charm
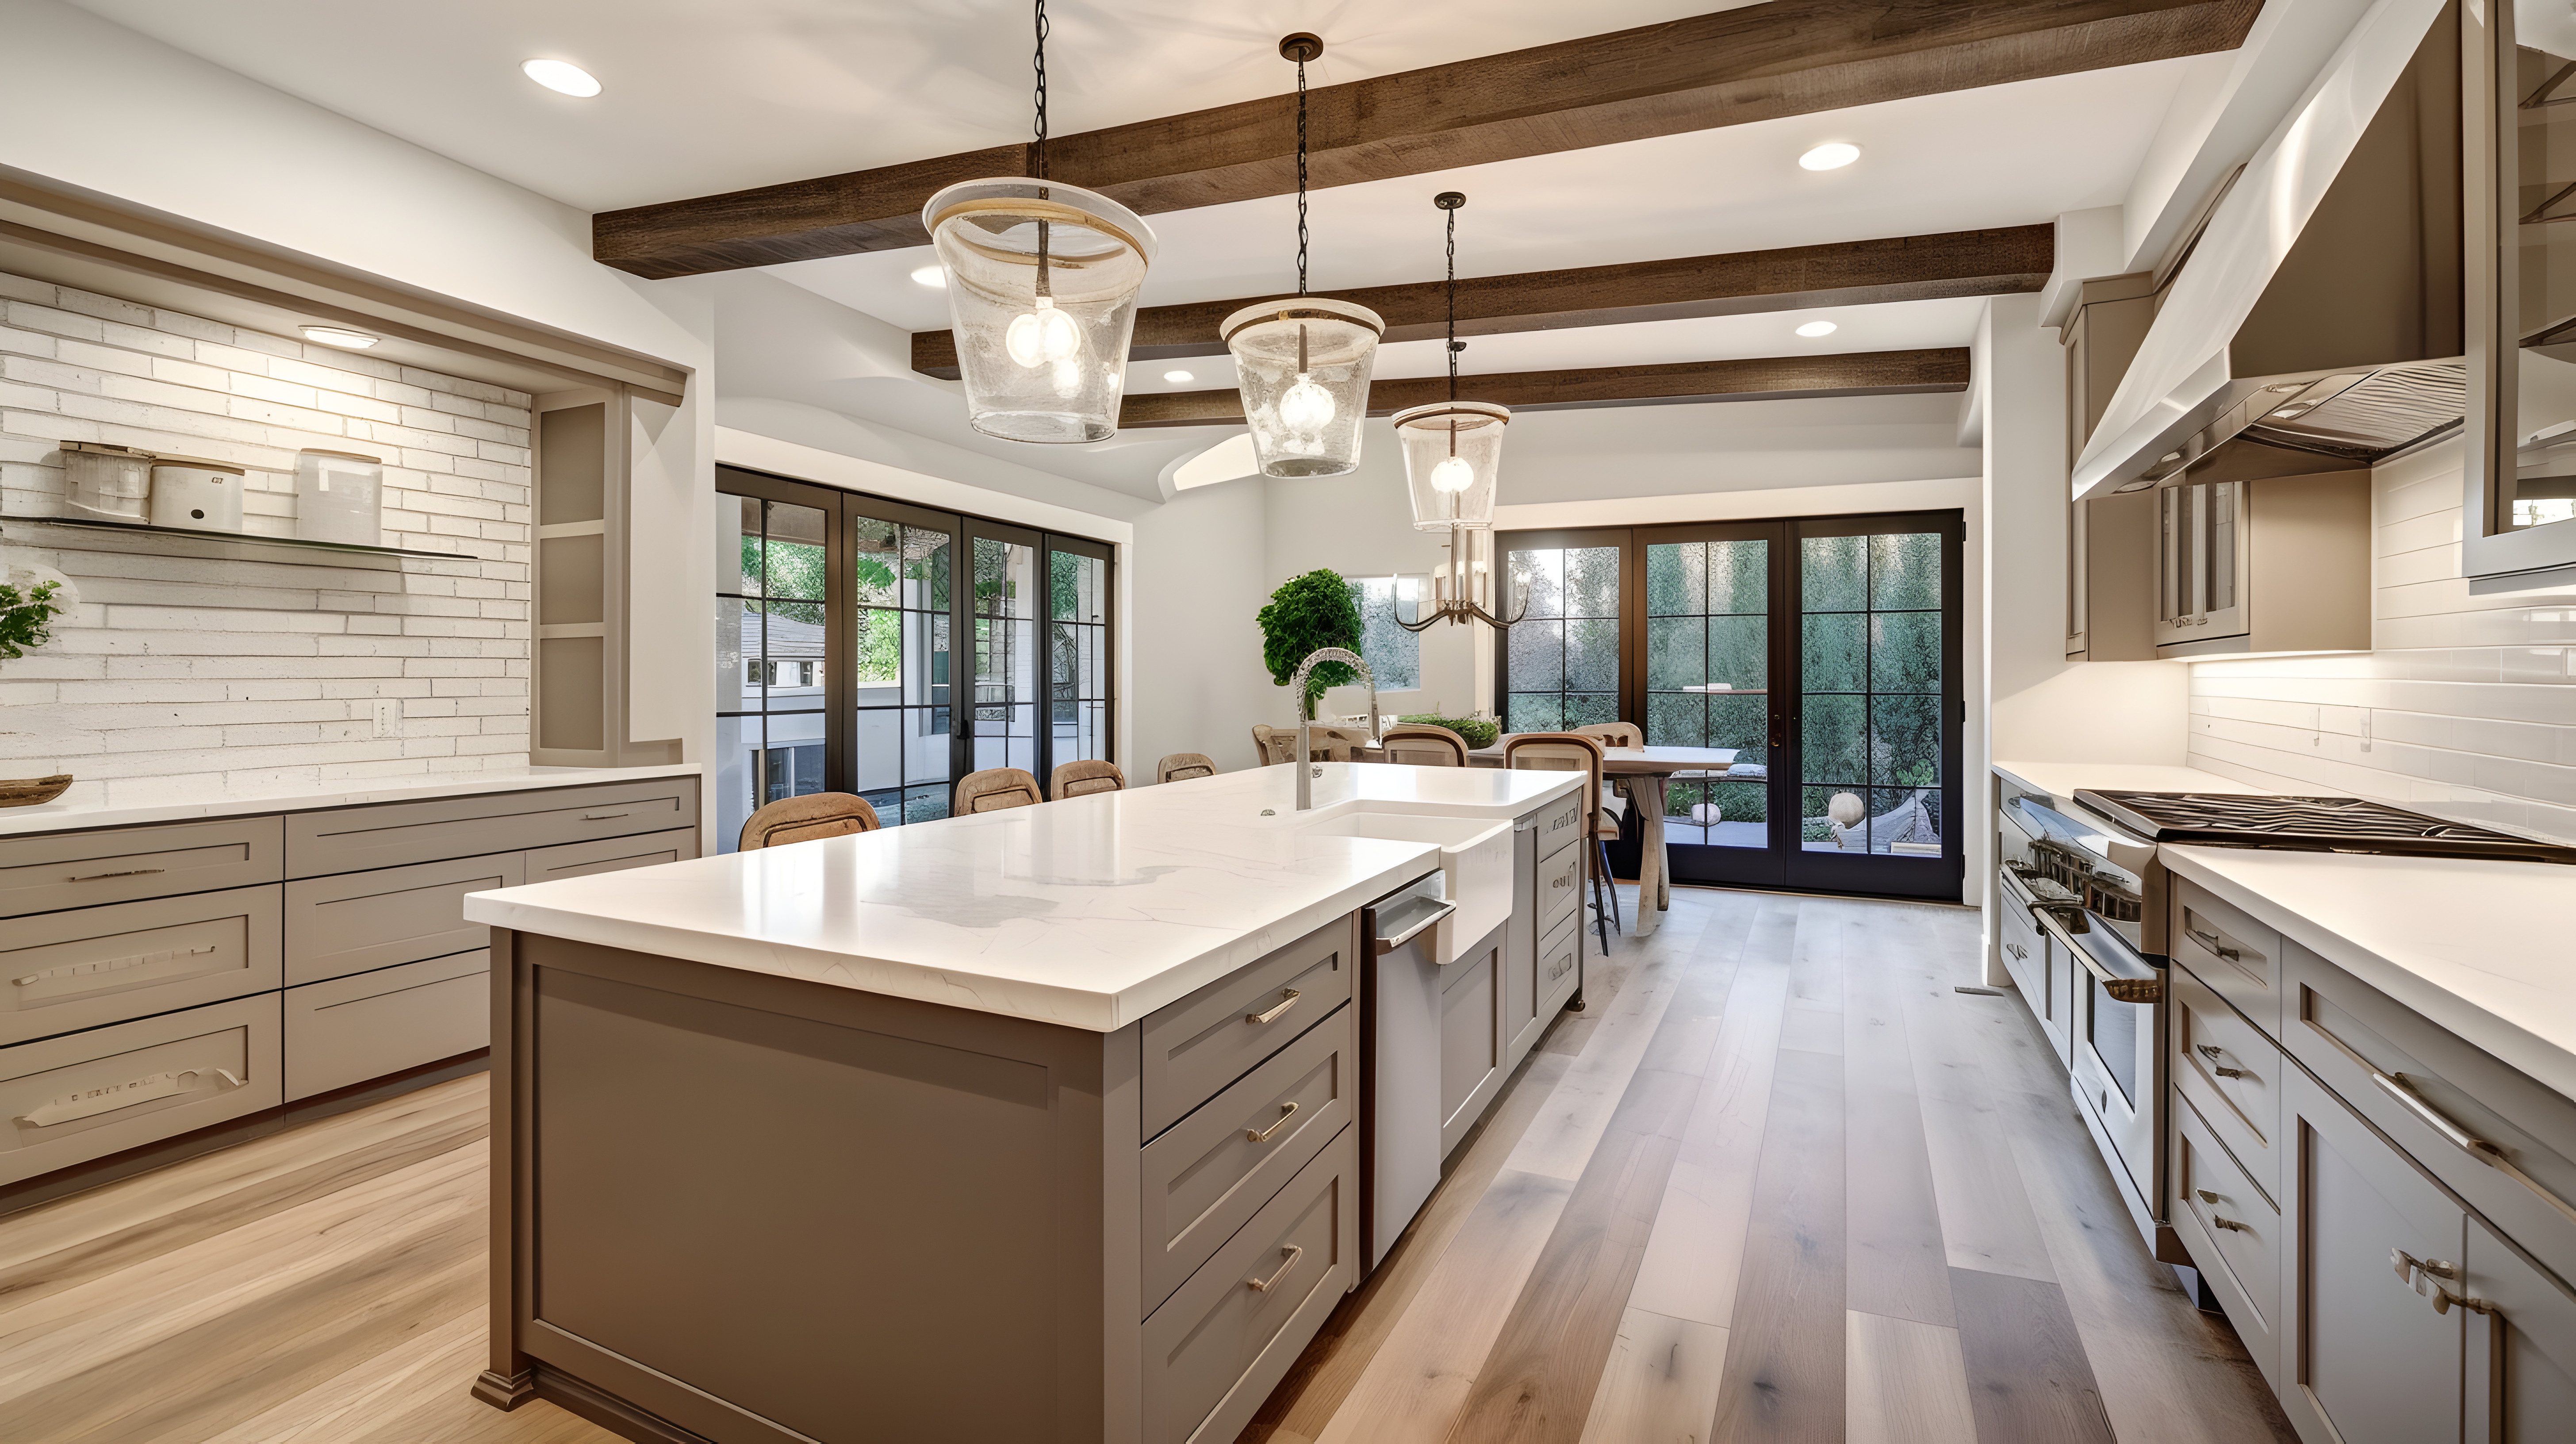
Channel the simplicity of American rural life with a farmhouse look.
Wood Species: Opt for wide (6-10 inches) planks in reclaimed wood species like White Oak or Pine, which offer a natural, distressed appearance.
Color: For a more rustic feel, use our innovative water/oil hybrid HyperTone Stains to create shades like Nutmeg or Sedona that enhance the wood’s natural grain. If the farmhouse leans
more modern, our Custom Series also includes
Raw and Bare Wood mixes.
Sheen: Pair it with PureMatte™ Floor Finish to emphasize the organic texture
and imperfections, creating a cozy, lived-in feel. If you are preserving a more natural look close to bare wood, put down Raw™ Sealer before coating; otherwise, use VersaSeal™.
2. Colonial Elegance
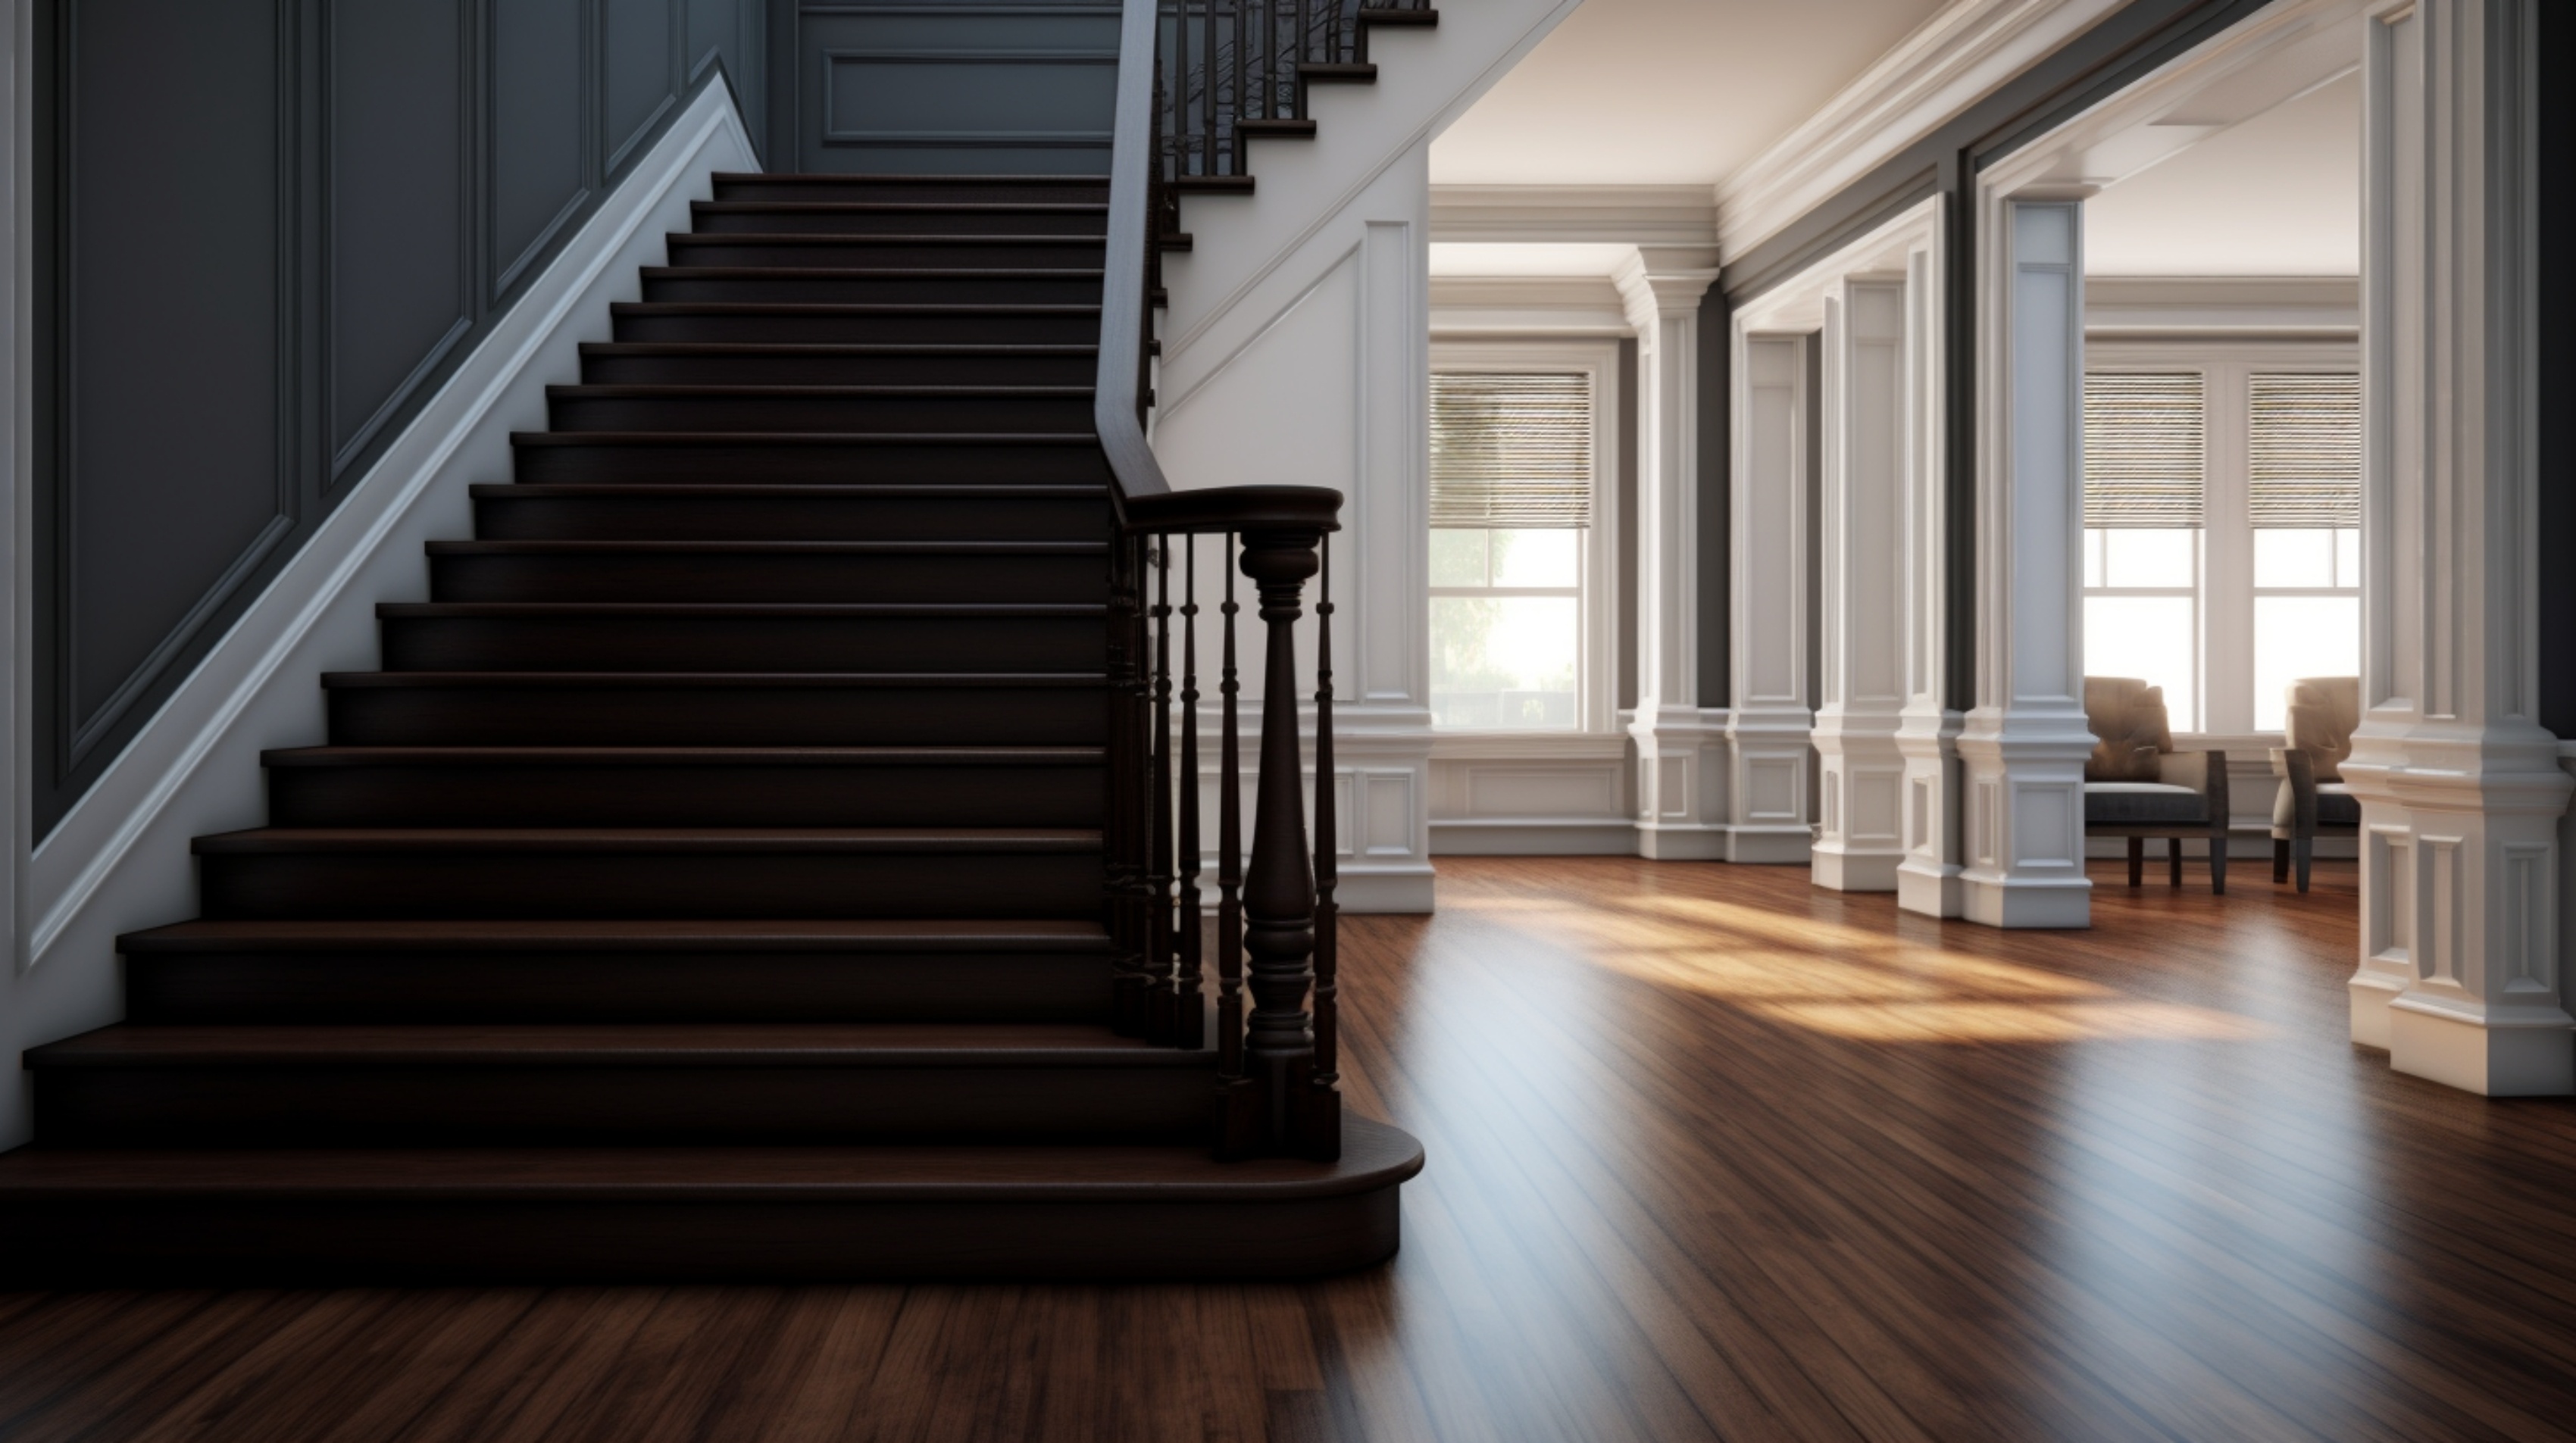
Capture the stately elegance of early American homes with a Colonial-inspired look.
Wood Species: Choose narrower 3-5 inch planks in wood species like Red Oak or Cherry for a classic, refined appearance.
Color: HyperTone Stains in the Designer Series like Provincial or Hickory provide a rich, deep color that
complements traditional colonial decor.
Sheen: Top it off with a high-durability semi-gloss finish for a timeless, sophisticated look. Use VersaSeal with StreetShoe® NXT Semi-Gloss.
3. Craftsman Character

Emphasize the handcrafted quality of the early 20th century Craftsman style with rich, earthy tones.
Wood Species: Choose wood species like Walnut or White Oak in 4-7 inch planks with pronounced grain patterns to showcase natural beauty.
Color: Our Custom Series includes shades like Golden Brown or Early American that enhance the unique texture
of the wood.
Sheen: After sealing with VersaSeal, finish with the Satin sheen of Emulsion PRO+ to add a touch of understated elegance typical of this classic American
style.
4. Coastal Cottage

Bring the breezy, relaxed vibe of coastal living into your home with a light, airy coastal cottage look.
Wood Species: Opt for lighter wood species like Maple or White Oak, which have a clean, bright appearance. Medium width (6-4 inches) is ideal.
Color: We offer Custom Series stains like Birch that can lighten up any space and evoke the feel of a serene beachside retreat. Similar to the modern farmhouse, the Raw and Bare Wood mixes in our Custom Series also
fit this aesthetic.
Sheen: Pair it with a low-gloss or matte finish like PureMatte to create a casual,
inviting atmosphere that's perfect for summer. Use Raw™ Sealer before coating for a raw wood look, or VersaSeal alternatively.
5. Industrial Urban Loft
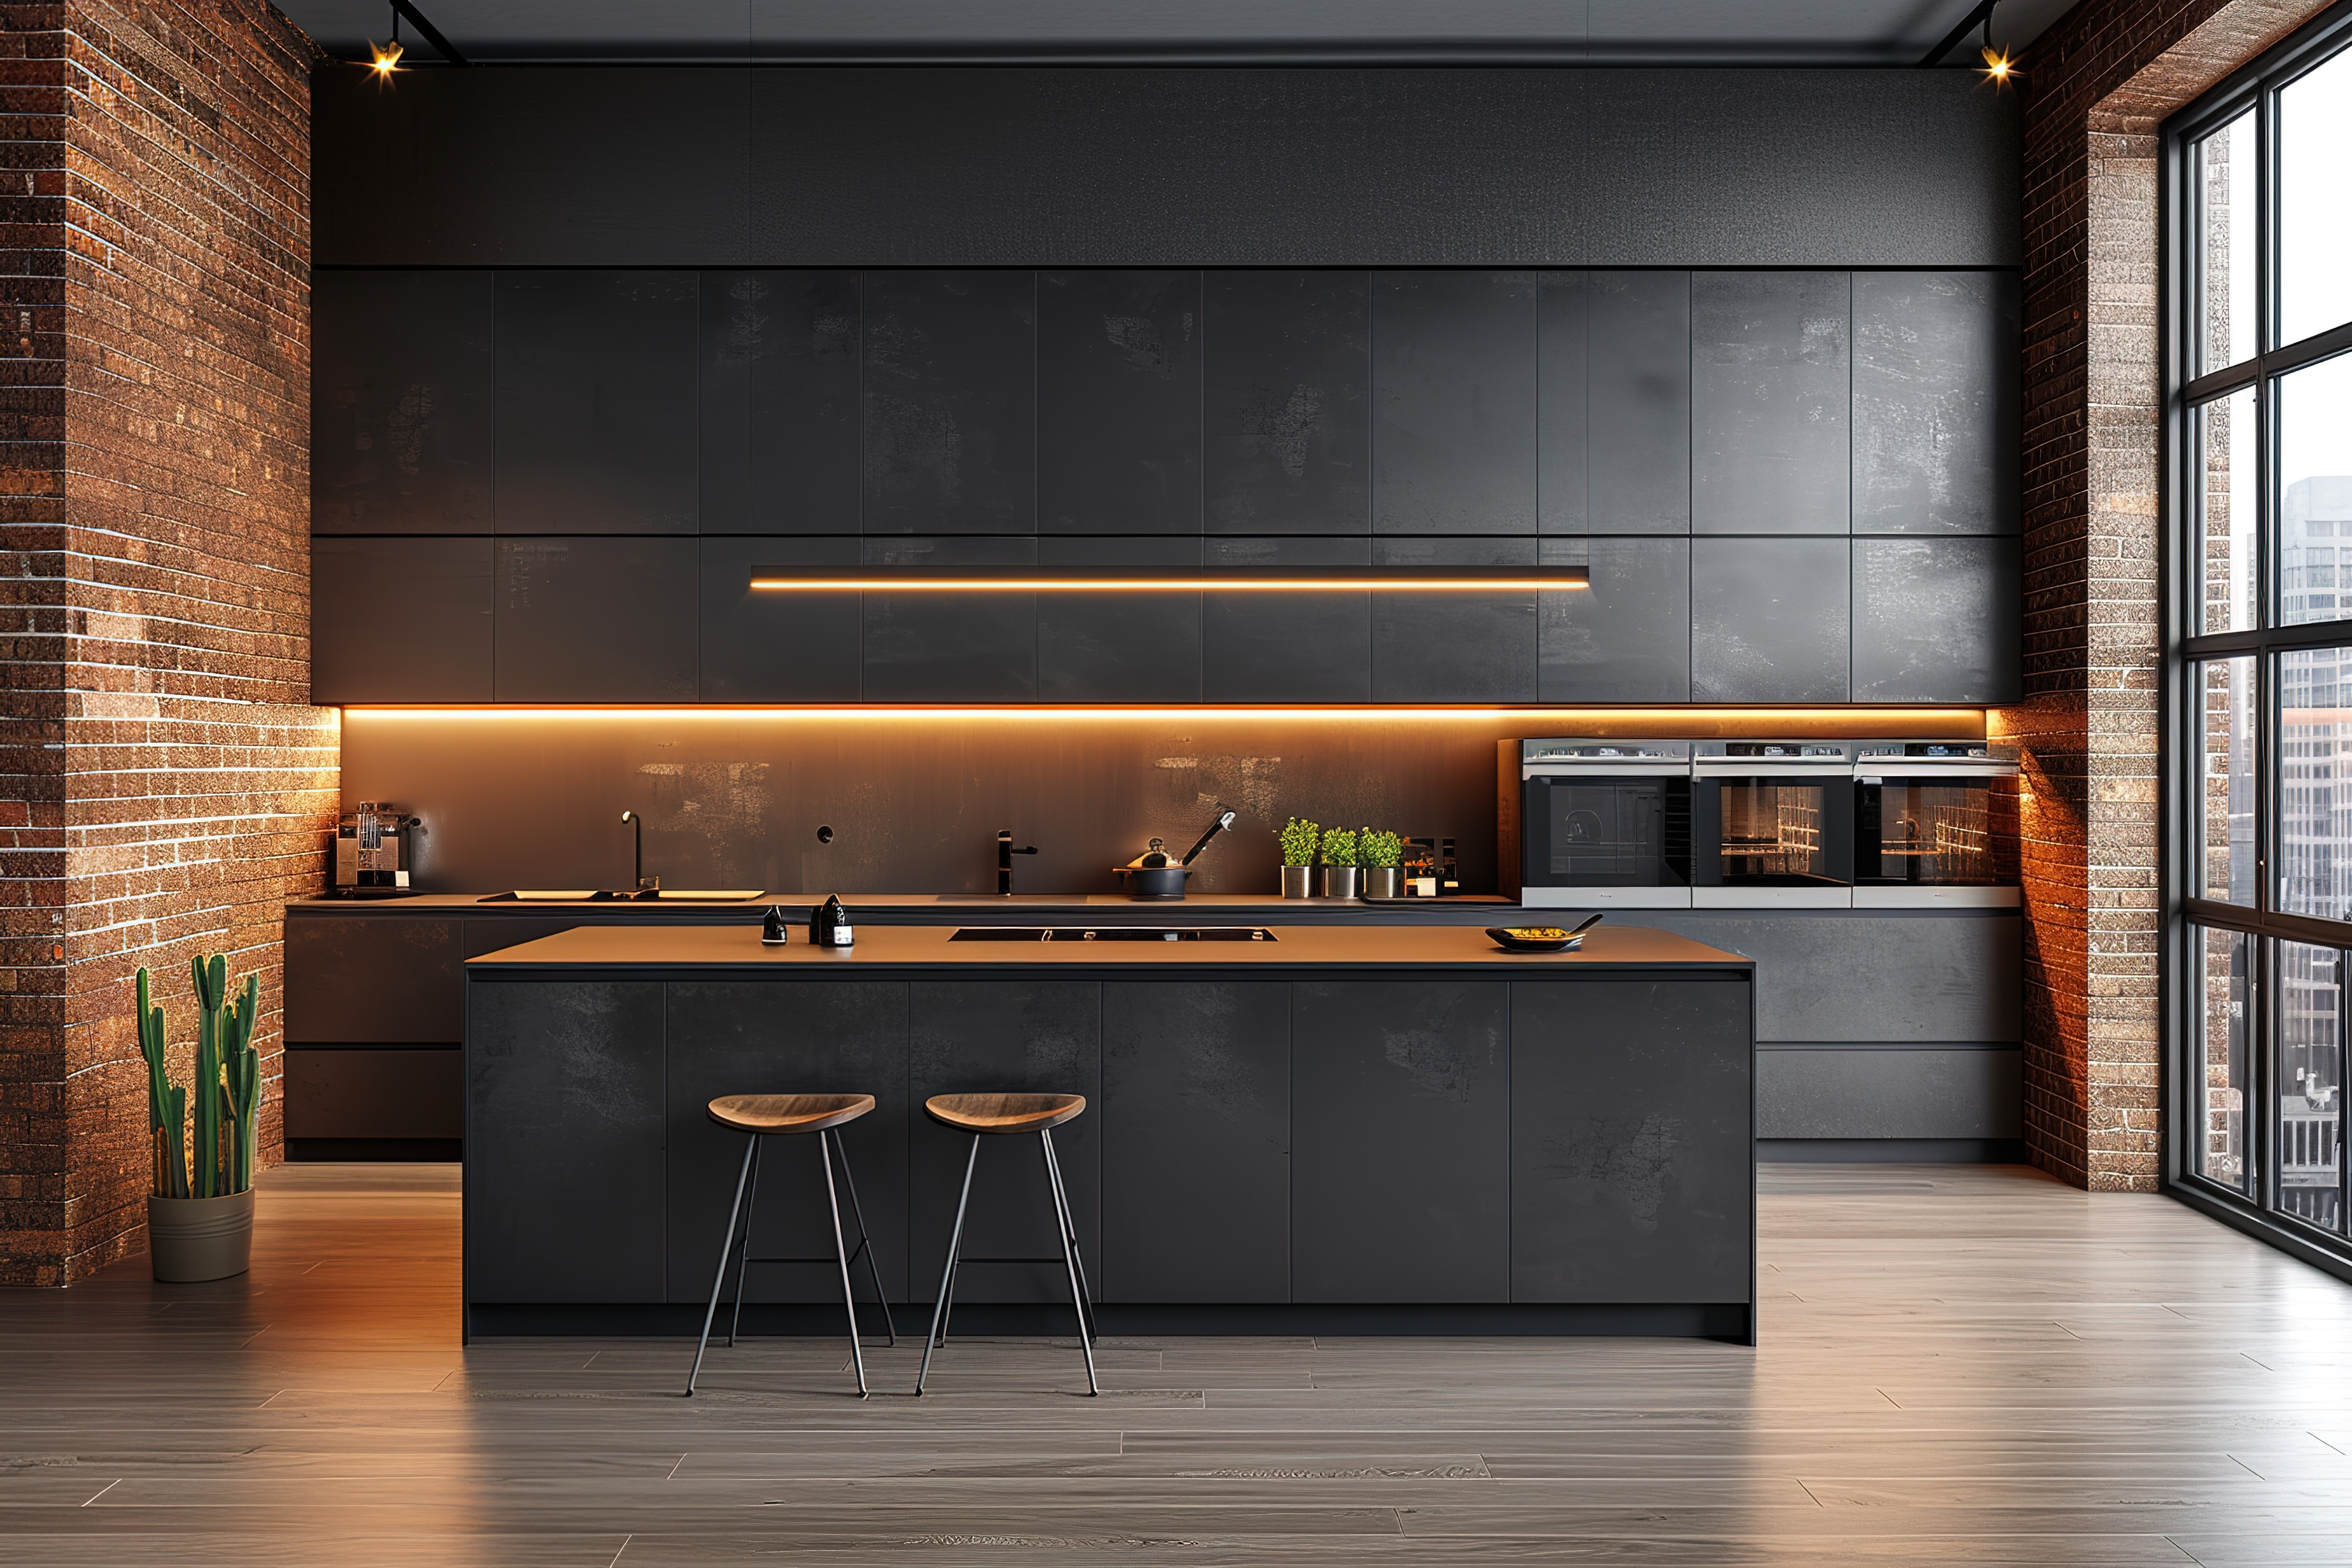
For a modern twist on classic American design, opt for an industrial urban loft look.
Wood Species: Choose darker wood species like Walnut in 5-8 inch planks for a dramatic base.
Color: Our stains in cool, neutral shades like Grey or Special Brown create a sleek, modern feel.
Sheen: Combine with VersaSeal and MainStreet™ Semi-Gloss for a polished look that complements the raw, unfinished aesthetic of urban loft spaces.
6. Southern Plantation

Achieve the opulence of grand Southern homes with deep, rich wood tones.
Wood Species: Opt for wider (5-9 inches) planks in species like Walnut or Hickory, which add a sense of luxury and tradition.
Color: Our Heritage Collection offers stains in luxurious shades like Jacobean or Antique Brown, perfect for recreating the
grandeur of Southern plantation style.
Sheen: A high-gloss finish using VersaSeal and StreetShoe NXT Gloss adds a layer of sophistication, making your floors the centerpiece of any room.
7. Mountain Lodge

Embrace the rugged beauty of mountain living with a mountain lodge-inspired look.
Wood Species: Choose hearty wood species like Red Oak or Cedar in 6-10 inch planks for their durability and rustic appeal.
Color: Use custom mixes of our HyperTone Stains to achieve dark, rustic hues like Espresso or Aged Barrel, creating a warm, inviting atmosphere.
Sheen: A semi-gloss finish helps highlight the wood's natural texture, giving your space an authentic, cozy feel that’s perfect for a retreat-like setting. For the ultimate durability, use VersaSeal with StreetShoe® NXT Semi-Gloss.
8. Mid-Century Modern

Bring the sleek, minimalistic style of the mid-century modern era into your space.
Wood Species: Use narrow (3-5 inches) planks in lighter wood species like Ash or Maple.
Color: Use a mix of our stains in light, neutral tones like Pale Brown or Natural Wash maintain the clean lines and
simple elegance characteristic of this iconic design period.
Sheen: The smooth, matte finish provided by PureMatte over VersaSeal creates a casual, inviting atmosphere that's perfect for summer.
As you embark on your flooring projects, remember that choosing American-made products not only supports Americans but also ensures the highest quality standards. Celebrate the ingenuity and hard work that define American manufacturing with our range
of wood floor coatings, stains, and refinishing solutions.
Ready to achieve these classic American looks? Explore our full range of sealers,
finishes, and stains to find the perfect matches for your next project.