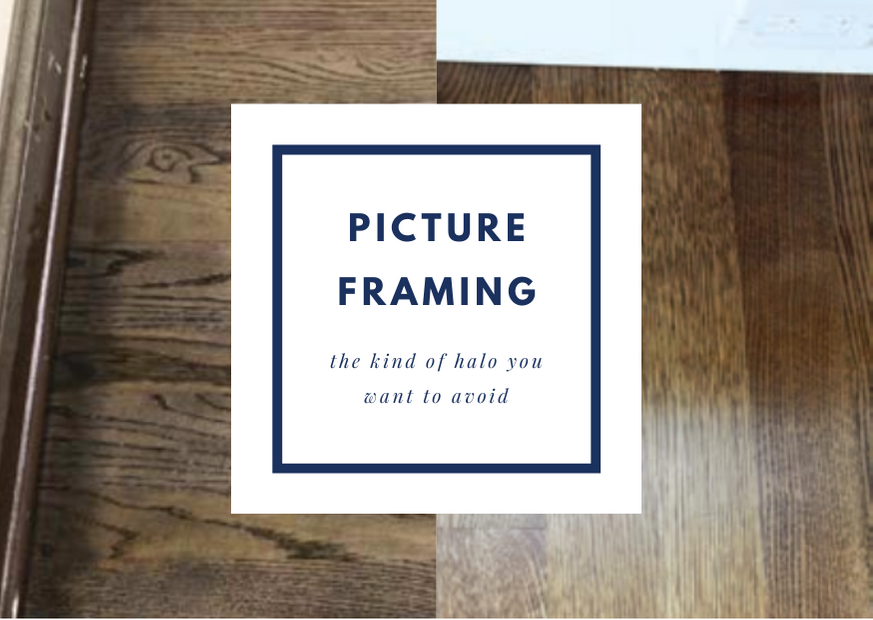
When it comes to refinishing hardwood floors, blending the perimeter with the field of the floor is an important skill.
To help blend in the edges with the scratch pattern over the rest of the floor, most hardwood flooring professionals already know to try to follow NWFA wood flooring sand guidelines, which include:
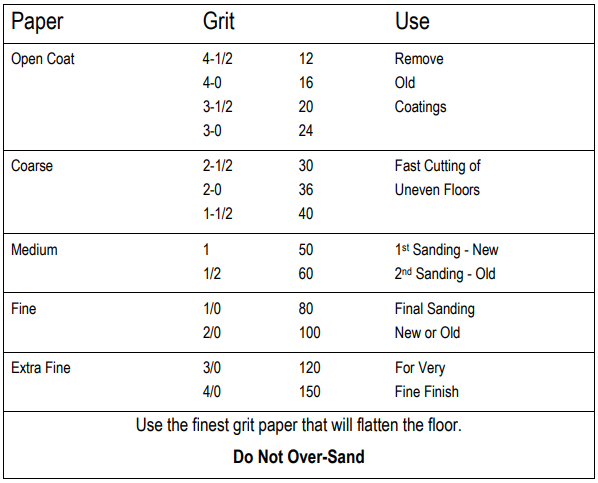
• Following the abrasive guide pictured right (click to enlarge)
• Using the same mineral and grit for the perimeter with an edger as they did in the field with a drum sander
• Never skipping performance of a final screen
Why, then, would a hardwood flooring contractor who followed each of these guidelines to a T be experiencing the dreaded picture frame—when the edges of the room have a slightly different appearance than the rest?
The Story
In late April of this year, a Basic Coatings® Regional Manager was called by a contractor who had experienced a picture framing issue on a previous job and was looking for some advice. On their recent project, they had stained a floor, applied
sealer and finish, then noticed the stain had different sheens between the perimeter and field of the floor. In that particular case, the edges could be best described as having a burnished look.
The Regional Manager visited a new project with the contractor and noticed the contractor’s sanding sequence was fine for both the drum sander and the edger—36 grit, then 50, followed by 80, and finally 100, concluding with a 120-grit
screen. However, he also noticed that the paper on the edger was not being changed as frequently as it should have been, so he recommended changing it more frequently.
Once proper sanding was completed, the application of stain, sealer, and finish was consistent and even throughout the floor, including along the edges.
Lo and behold, no picture frame.
The Regional Manager and contractor both agreed that by not changing the paper on the edger fast enough on his previous job, the contractor was, unbeknownst to him, burnishing the wood along the perimeter and closing the grain. The edger, cutting
at a much finer grit, was essentially polishing the wood along the edges.
The Simple Secret
Edging is hard, grueling work. Often, contractors want to finish as quickly as possible, which sometimes results in less frequently stopping to change the paper on the edger. Keeping the paper fresh early and often, however, can eliminate picture
frames in the final product.
Even if paper feels sharp, it very well may be beyond its prime, which is why the best way to judge whether paper is due for changing is by square footage.
Ultimately, edgers should be used to reproduce how the rest of the floor was prepared. This will give you the best chance to blend the stain, sealer, and finish to give you a great looking floor.
If you have questions about picture framing or other issues you are experiencing, please click here, fill out
the online form, and your Basic Coatings Regional Manager will reach out to you.